
After completing this unit, you’ll be able to:
This unit's exercise uses the Esri Geodatabase (File Geodb) reader/writer, which requires a licensed version of ArcGIS. For more information on required ArcGIS license levels, please see Required ArcGIS License Types for FME Geodatabase Formats.
Although annotations are stored in a separate feature layer in a geodatabase, they can be linked to other features through feature-linked annotations. Feature-linking occurs when there is a relationship between an annotation feature class and another feature class.
Linking is carried out by defining a relationship through a common attribute. The geodatabase must already have the relationship defined before writing the data.
How it works in FME: If the relationship for the annotation exists in the geodatabase, then FME will automatically create the annotation and the relationship. The FME geodatabase writer will retrieve the object ID of the new feature and then write the annotation feature and the relationship linking to it. The result is that you only need to write to the primary feature class (Zones in the example below), and the one FME feature contains enough information to write two features: one annotation feature (ZoneNames) and one primary feature (Zones). The annotation created is based on the annotation rules you've created in your target geodatabase in the annotation feature class (ZoneNames).
1. Set Up Destination Geodatabase
As mentioned above, feature-linking is carried out by defining a relationship through a common attribute. As such, it is necessary to determine the relationship between your features and annotations in a destination geodatabase before writing the data. This process would entail using ArcGIS to create an empty feature class to hold the Zone features, an empty feature-linked annotation class (designed with the required scale, placement properties, text size, etc.) to hold the Zone annotations, and a relationship class to link the two together.

An XML workspace document is available from the Resources section above. The template file in this example is called DESTINATION_GDB_TEMPLATE.XML and will be used during the translation to apply the required schema to our destination geodatabase.
Zoning feature geometry and annotations are read from the TAB source file using the MapInfo TAB (MITAB) reader, providing the features and annotations for the destination feature classes (Zones and ZoneNames) in the geodatabase. The ZoneName attribute in the source data will provide the annotation values.
2. Read Source Data - MapInfo TAB (MITAB)
Create a new workspace in FME Workbench (2021.1 or later) and add a MapInfo TAB (MITAB) reader to the canvas. Browse to the Zones.tab dataset and click OK to add the reader.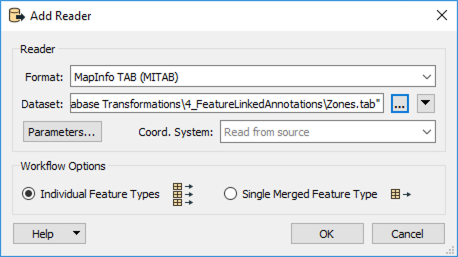
3. Inspect Source Data
Run the workspace and inspect the feature cache on the Zones reader type. It should look like this:
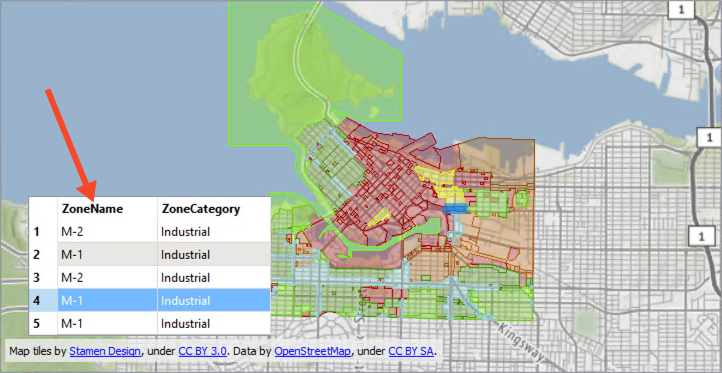
The ZoneName attribute will provide the values for the feature-linked annotation.
4. Write Geodatabase Features and Feature-Linked Annotation
Now we can write the data out. Add an Esri Geodatabase (File Geodb) writer to the canvas. Browse to a location to save the geodatabase and call it feature_linked_anno.gdb, then open the Parameters.
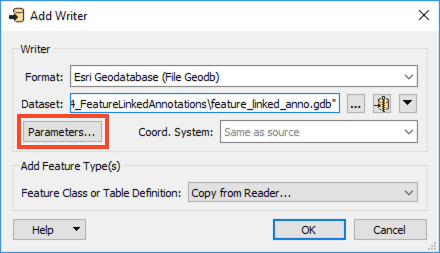
As mentioned above, we’ll use an ArcGIS XML Workspace Document rather than create the geodatabase from scratch. This template was created by exporting it from an existing geodatabase. In this case, we created the template file from a geodatabase containing a feature class, feature-linked annotation class, and relationship class.
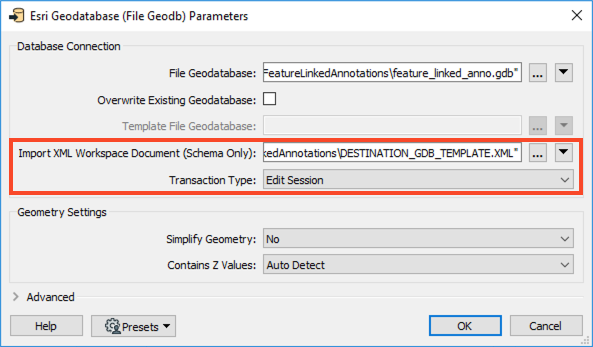
In the Parameters, set the Import XML Workspace Document (Schema Only) to DESTINATION_GDB_TEMPLATE.XML, available from the Resources section. Next, set the Transaction Type to Edit Session. We can only edit these complex features in an Edit Session or Version. Then click OK twice to add the writer.
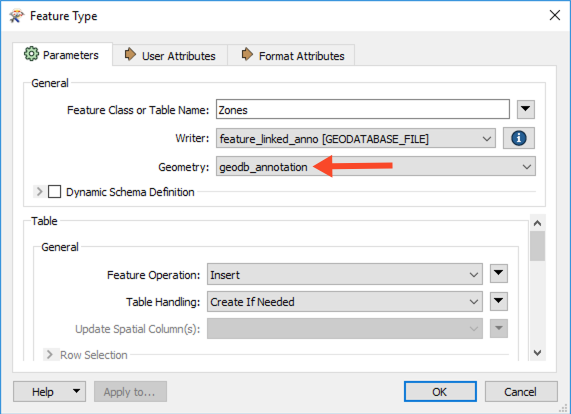
Once the writer has been added to the canvas, connect it to the Zones reader feature type and double-click to open the parameters. Set the Geometry to geodb_annotation, then click OK.
5. Save and Run Workspace
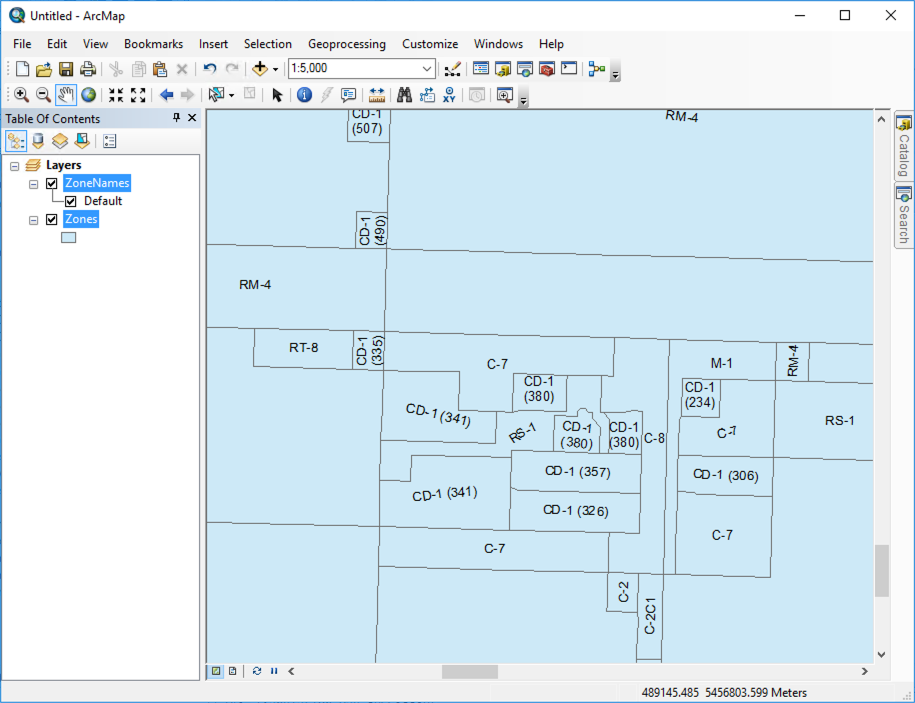
Now you can go ahead and save the workspace before running it. View the output in ArcMap.
If a template file is not available and a destination geodatabase was created from scratch as mentioned in Step 1, when adding the Esri Geodatabase (File Geodb) writer, be sure to set the Add Feature Type(s) section of the writer dialog to Import from Dataset. Set the Transaction Type to Edit Session in the Parameters, then click OK twice.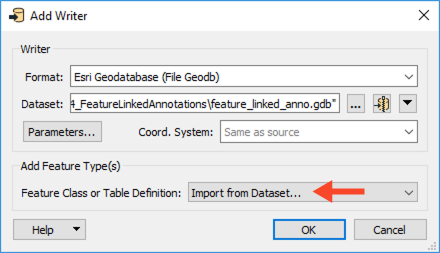
Set the Format and Dataset to the geodatabase created in Step 1 and click OK when prompted. FME will scan the geodatabase to confirm what tables exist. When prompted with a list of classes, select only the feature class you wish to populate with features.
Once the writer is added, connect the output of the MapInfoTAB reader feature type to the geodatabase writer feature type.
When converting one geodatabase to another, it is also possible to create new feature-linked annotations in the same way as described above. However, you may have edited your annotations in some cases and want to preserve those edits. In this case, you need to link the source annotations back to the primary feature and set the geodb_<anno> format attributes for the annotation characteristics you want to preserve. Also, ensure that the annotation does not automatically create on feature insert in your target geodatabase template. To do this, you need to edit the ArcGIS annotation properties and uncheck Create annotation when features are added. Then export that to your Esri XML Workspace Document that you'll use for your geodatabase template.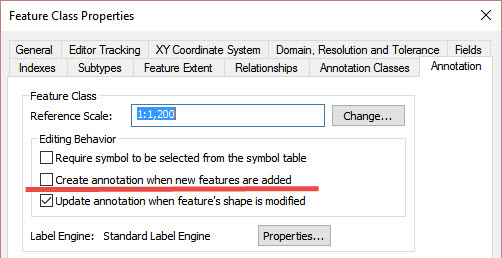
In this example, the source geodatabase has the feature class Zones and feature-linked annotation ZoneNames.